Please register to participate in our discussions with 2 million other members - it's free and quick! Some forums can only be seen by registered members. After you create your account, you'll be able to customize options and access all our 15,000 new posts/day with fewer ads.
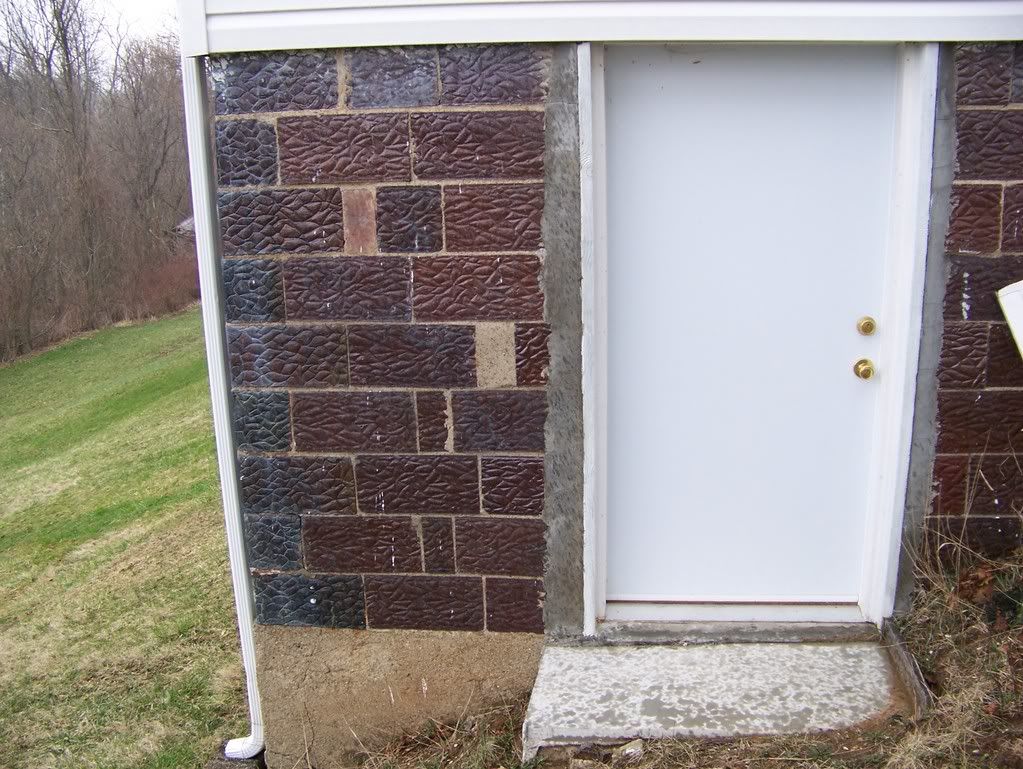
New metal clad basement door. You are looking at a custom and 4 days to put that puppy in. I was hoping for two. Those blocks are baked clay, tougher than the Hub Rock of Hell. I had to cut and straighten out the line, horrible first installation. Then fill with cement and bed nailer blocks, then frame it out, install door. You need a nuclear weapon to dent them damn blocks. I even gave it a fancy wood trim inside, already blown a ton of time, what the hay.
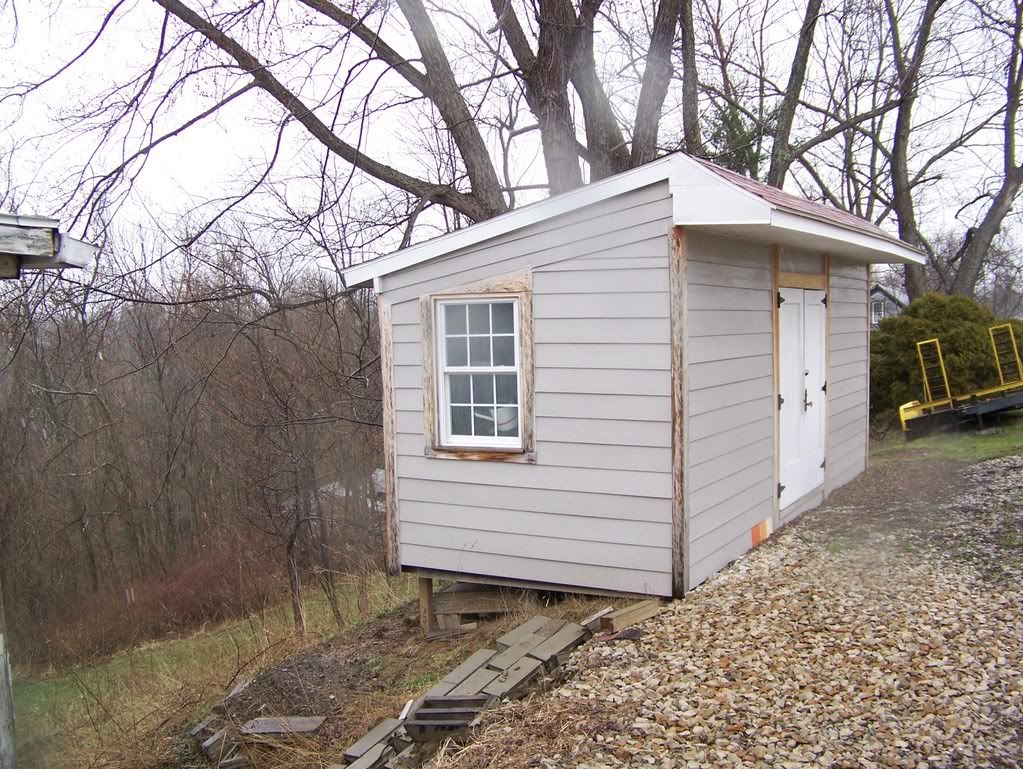
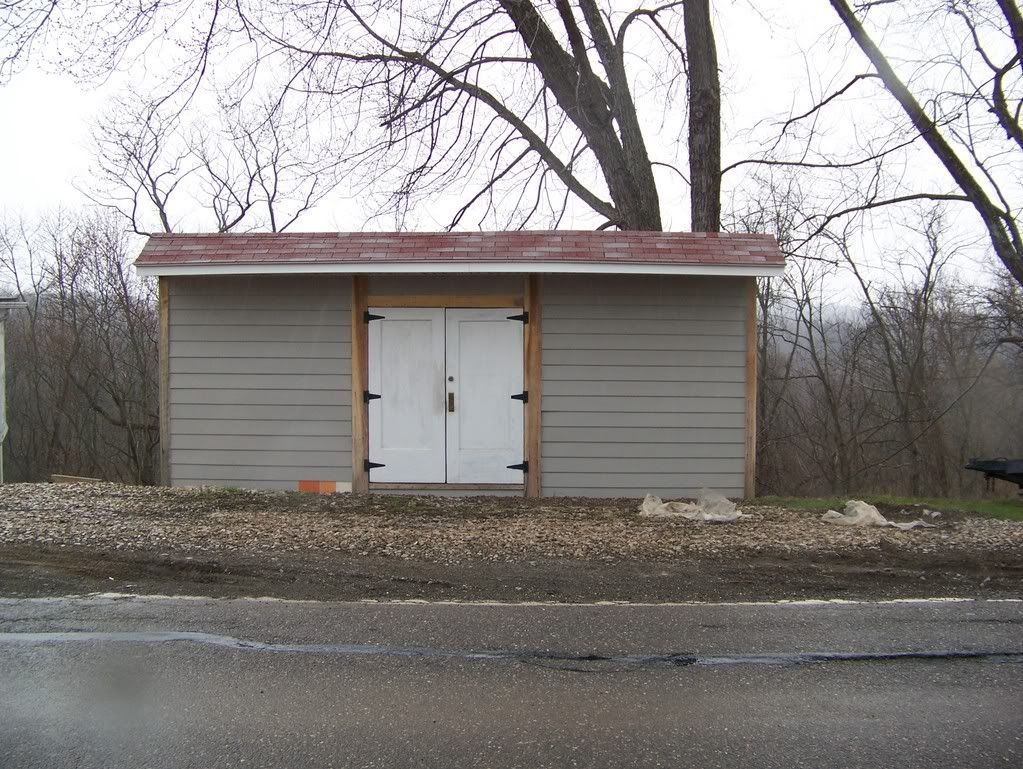
My fancy new shed. Very proud of this one. Tore down an old ratty one way down back in the yard, lug the material up the hill and rebuilt next to the road so I could drive up. The left half plus the door area is built out of the old shed. An eight foot extension was added to the right using modern lumber and plywood. The tough part was getting something to side it with. Siding prices are out of sight. I got that vinyl lap boards surplus. My total out pocket costs to build complete is about $600. Note that crystal door handle. Windows are also surplus
All the wood trim you see outside is oak planking I got at a local Amish sawmill for a song. Green wood cured one year. Bear to drive a nail thru. Crank that nail gun pressure to the moon. Hinges are mods out of my junk box. Joke was the local kept watching it being built but they didn't know what it was. One neighbor told them I always wanted a lemonade stand as a kid but my mother said no. So this is my chance to have one. Selling coke out of the other side.
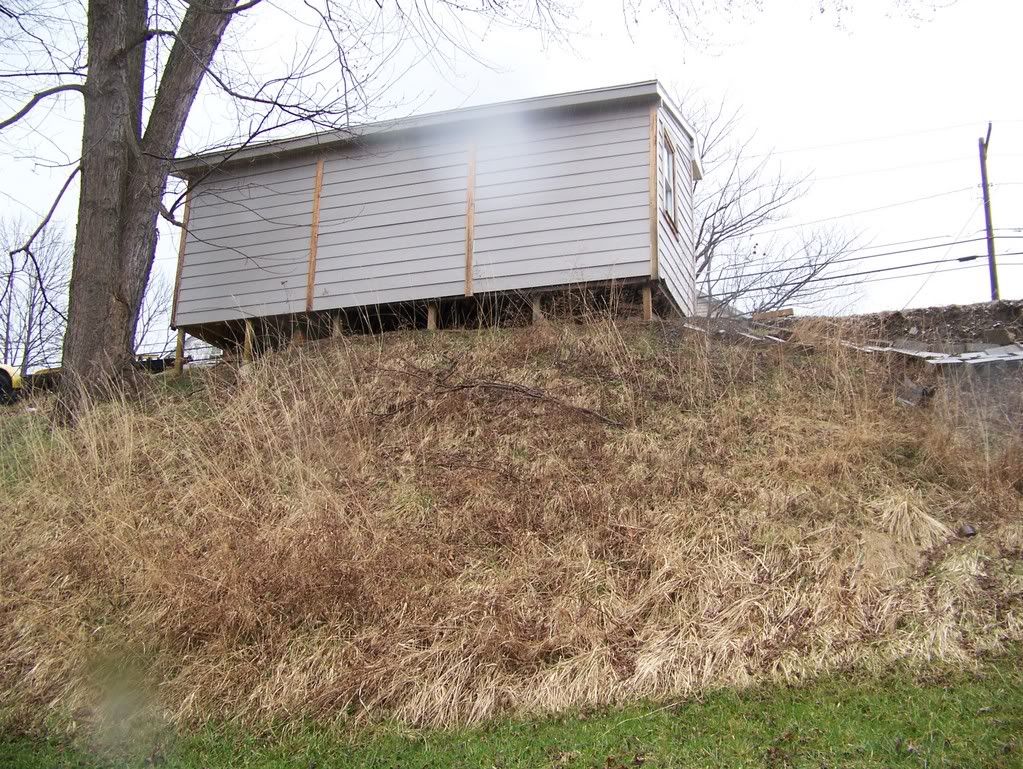
Shot of the back, that damn hill, had to do some fill just to set up staging. Need to do some big time filling back there.
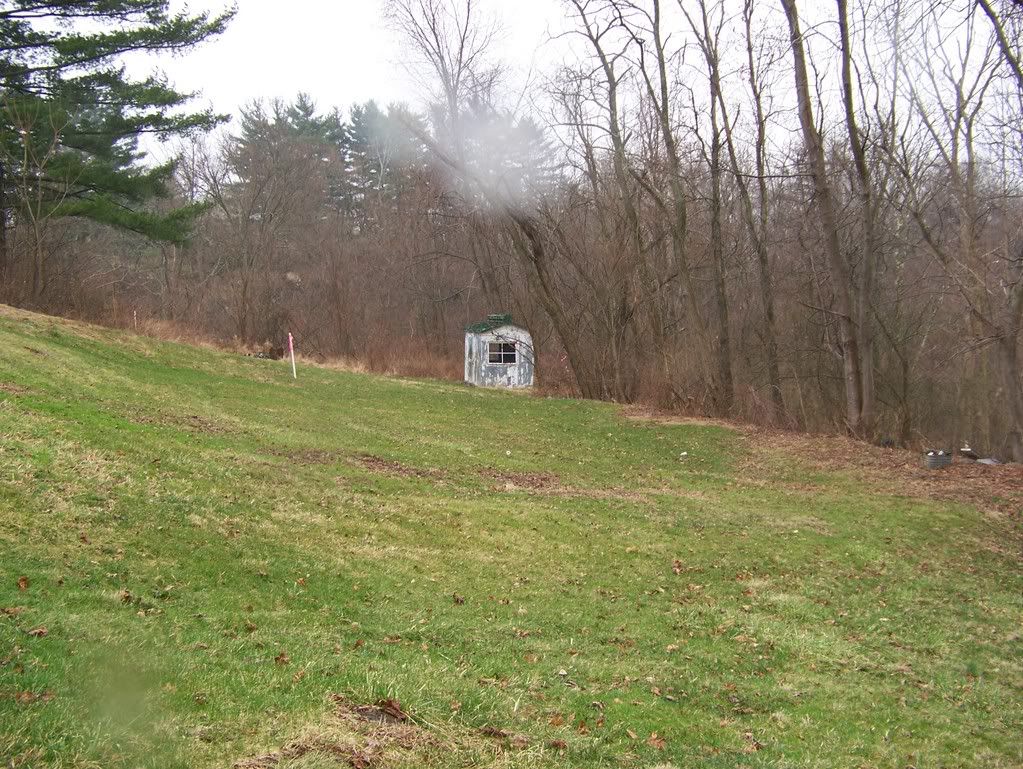
This is not the old shed but the one I tore down looked far worse.
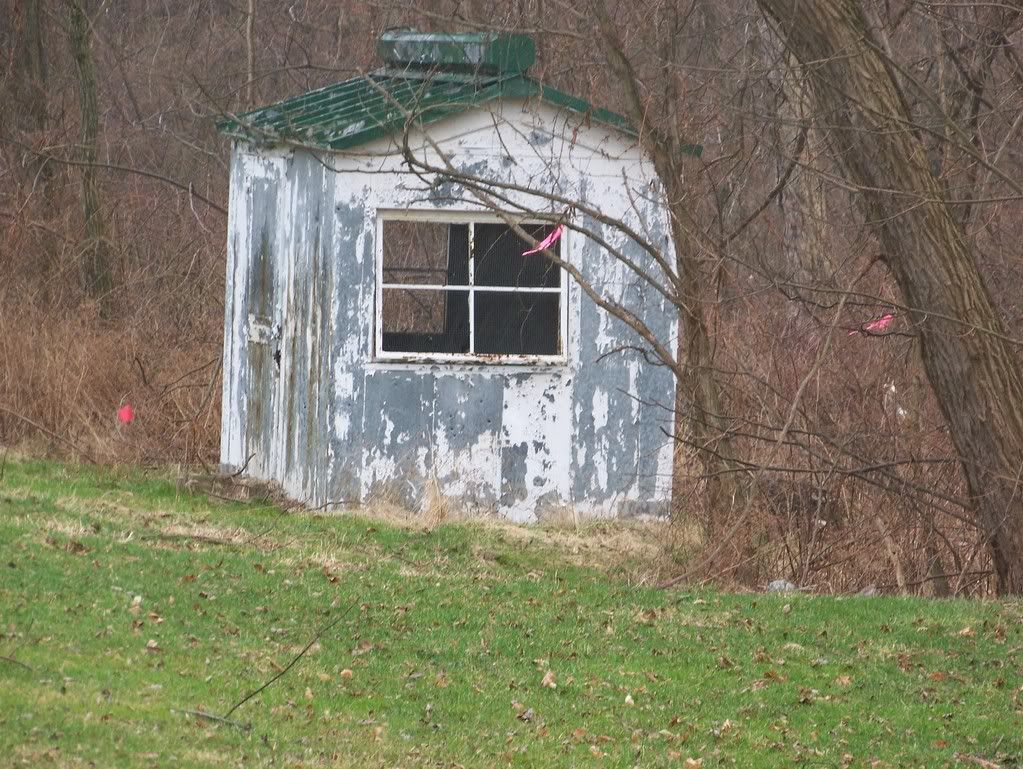
Closer shot. Type structures you find all over SE Ohio.
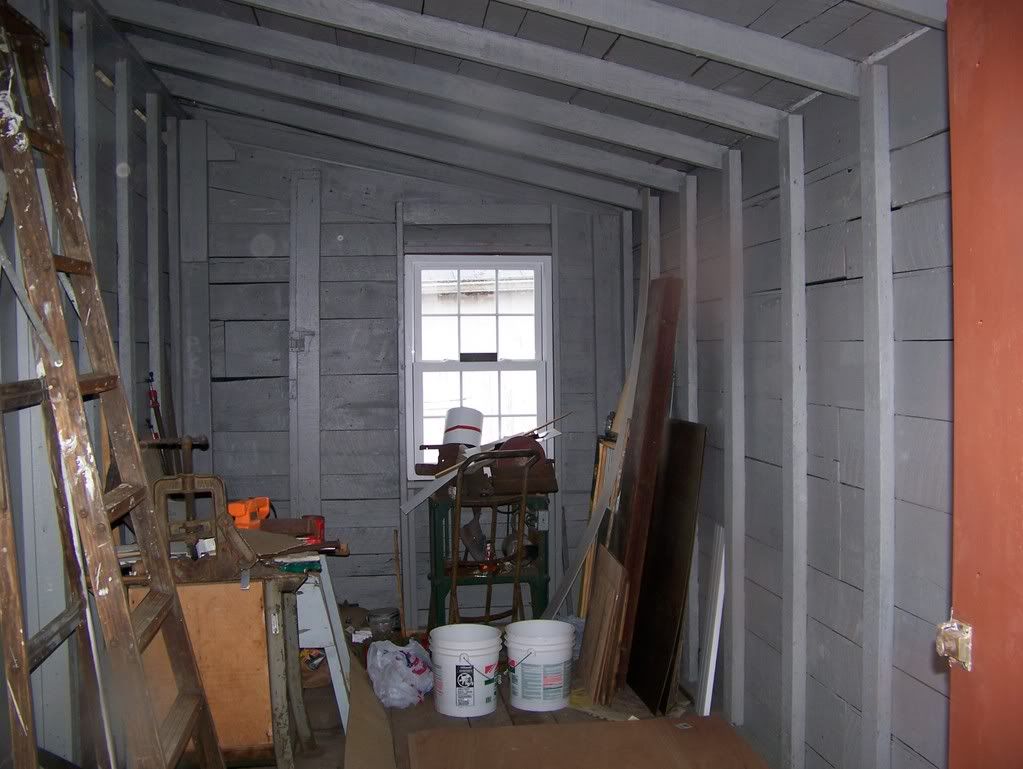
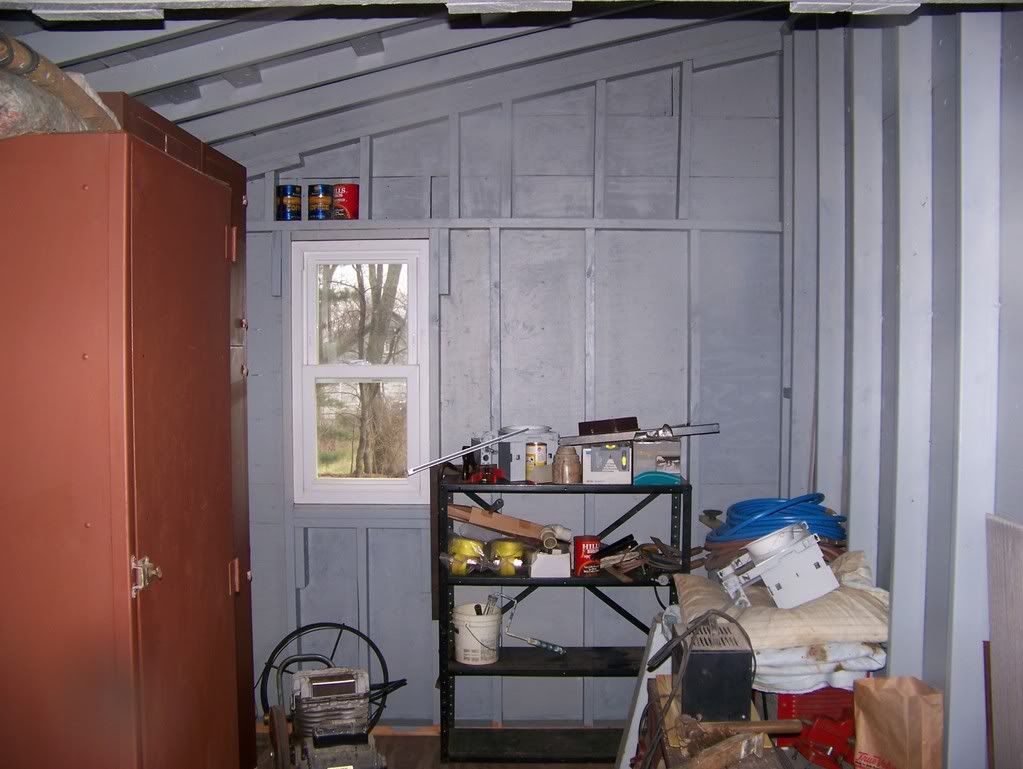
Inside shot, this is the old section, all painted out. I need to get workbenches and pegboards and move my junk in.
The new section that was added on.
Another shot, my temporary wall seems to have gone to sleep. Need big time filling all over the back.
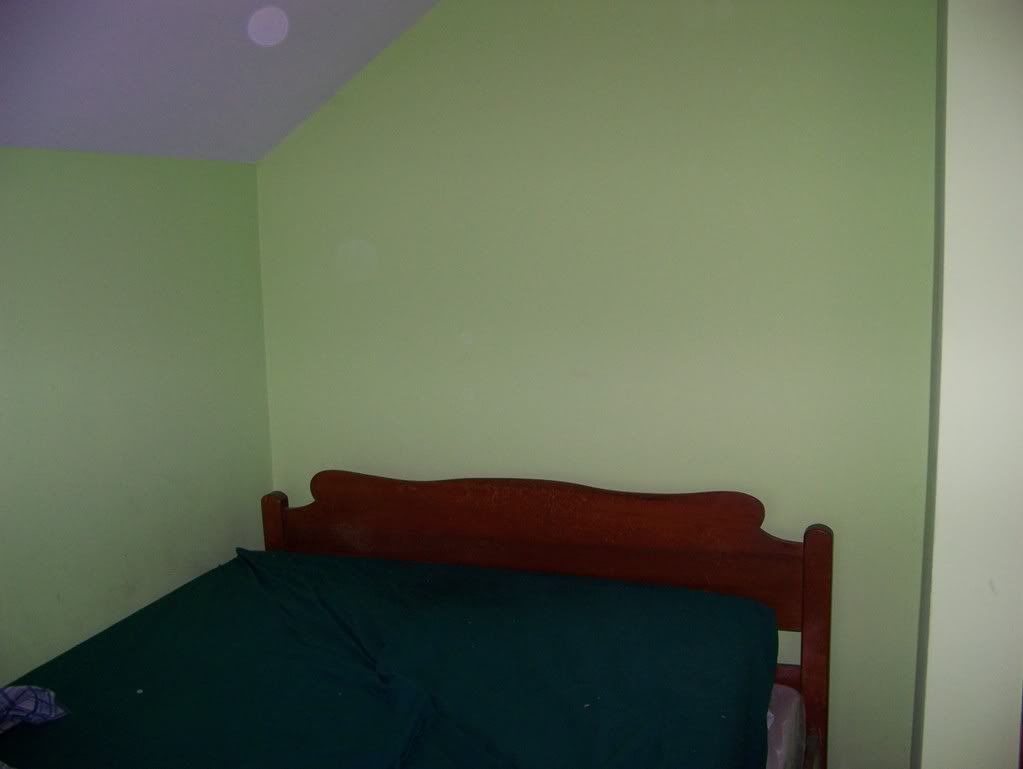
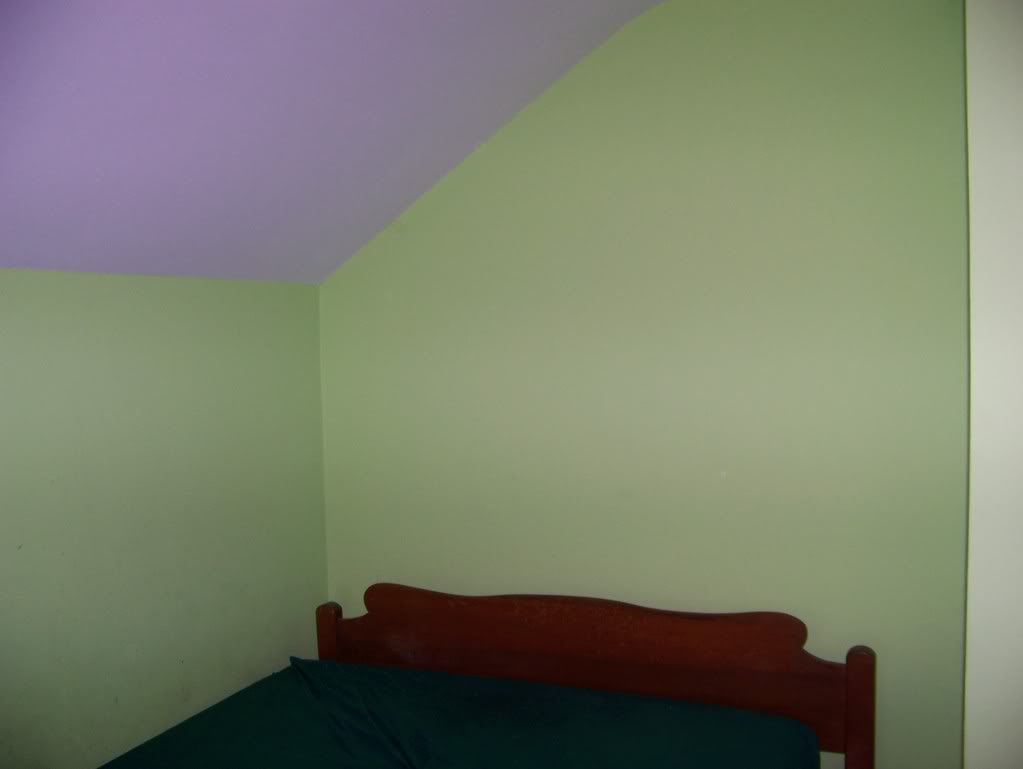
My bed room. Small has no closet. This area will get a shelving put over the bed with reading light
Another shot of bed.
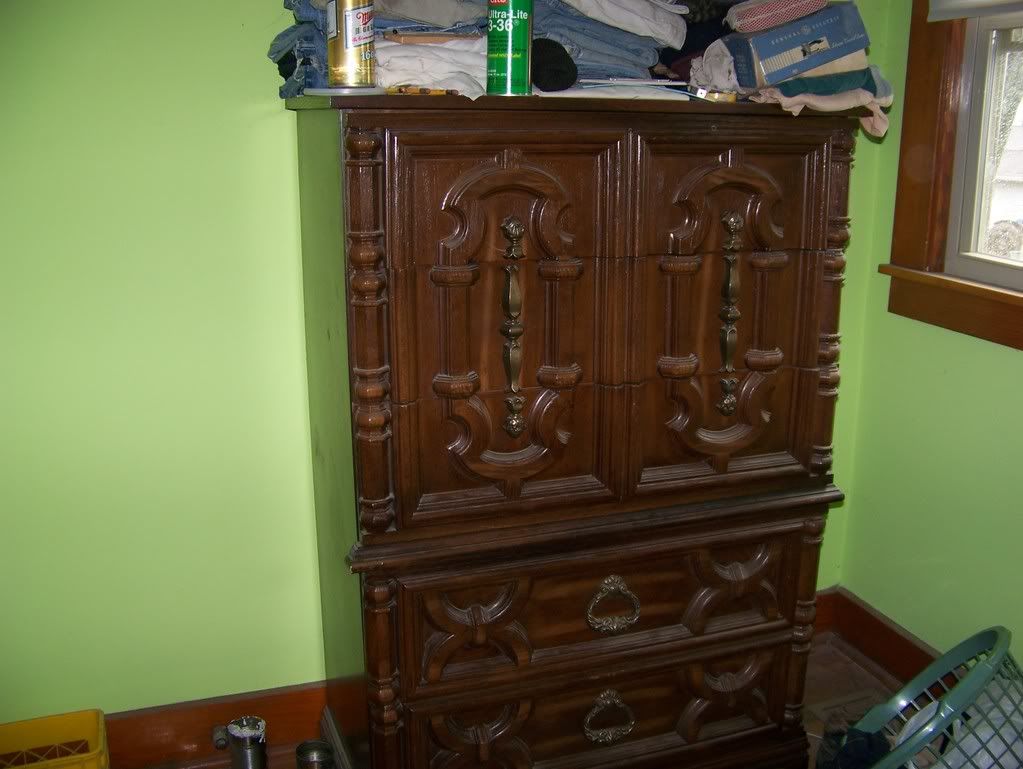
This chest of drawers will get put thru a wall on the other side to use that wasted storage space. Can just cut a hole and embed the drawer thru the wall to get more room. Have too matching other pieces that can go in there too. Will become part of the room and replace a closet.
Big fixer that another guy bought, looks like he is gutting it. Don't know any details. Don't really know them. Could have been a super buy at the right price. Nice level land, big barn out back. Too big for me. Works on it in their free time, have regular jobs. Lots of peeps trying to do fixers.
The chest of drawers will also get embedded thru the wall above my bed in the bed room. Should be a nice touch when done. Not what you see much of.?? I do like to build things in nice and custom.
Out of pix's. Will take some more in the future and add them here. Hope it was enjoyable. Been a project that will be worth if I ever get done. Tough to buy older houses in excellent condition in this area.
Also got two garages to tear down and do a lot of fill work. Would like to build a boiler house and install a high tech wood furnace, plus solar.
Also in the plans tear down a vestibule thingee and rebuild and add a bath and laundry room in that area. Plenty of projects for the next several years.
I LOVE that pantry! I have a small closet behind the kitchen, used for a hall closet...thinking I may follow your lead, since the narrow kitchen wont accommodate all the cabinets I'd need.
Shoot: edited to add...that wont work, we're using that closet for a washer and dryer on the main floor. Doh!
The plastering that you speak of...will it work over the old wood paneling that was ever so popular decades ago? I was planning on for now, using liquid sandpaper, then smoothing it down w/filler, sanding it smooth and then primering the heck out of it...is plastering another/better way?
Yeah, I think that is a fair estimate 2 - 3 chuckle don't we wish. Just the attic work probably burned 2 months.
I moved in April and quickly figured out the critical things that first year was get the attic done, windows in, totally leak tight, replace furnace, wiring, try to mess with the plumbing, get some rooms upstairs to live in done. So that took 7 months and then I knocked off for winter, did the shed and the downstairs the next spring - fall. Again knocked off for winter (went to Florida so wasn't even here) so I got like 14 months but the cost constrains and looking for deals / parts chews up tons of time. Plus I take days off, I am in no hurry. That plaster can kill you as a one man crew. Not my most skilled trade. Few people actually can do it well these days. A lot of the jobs around here I would not have bid as a contractor, the basement door for sure. I've had my share of surprises. Might not have bid that shed.
You probably can do it over the paneling but must use the mesh. The paneling can not flex or deflect. Must be solid. I would use plaster of paris or fine finish plaster for blue board, I like the Diamond brand if you can find it. The rougher the better, must have some bite. Do a rough plaster coat and pull it out pretty hard. Then before it cures much a very thin coat of topcoat mud, embed the mesh, let dry, follow up with other coats as needed. When you sand out and if you cut into the mesh no big deal, won't see it after you paint. Use oil based primer. Use sanding screens not sandpaper.
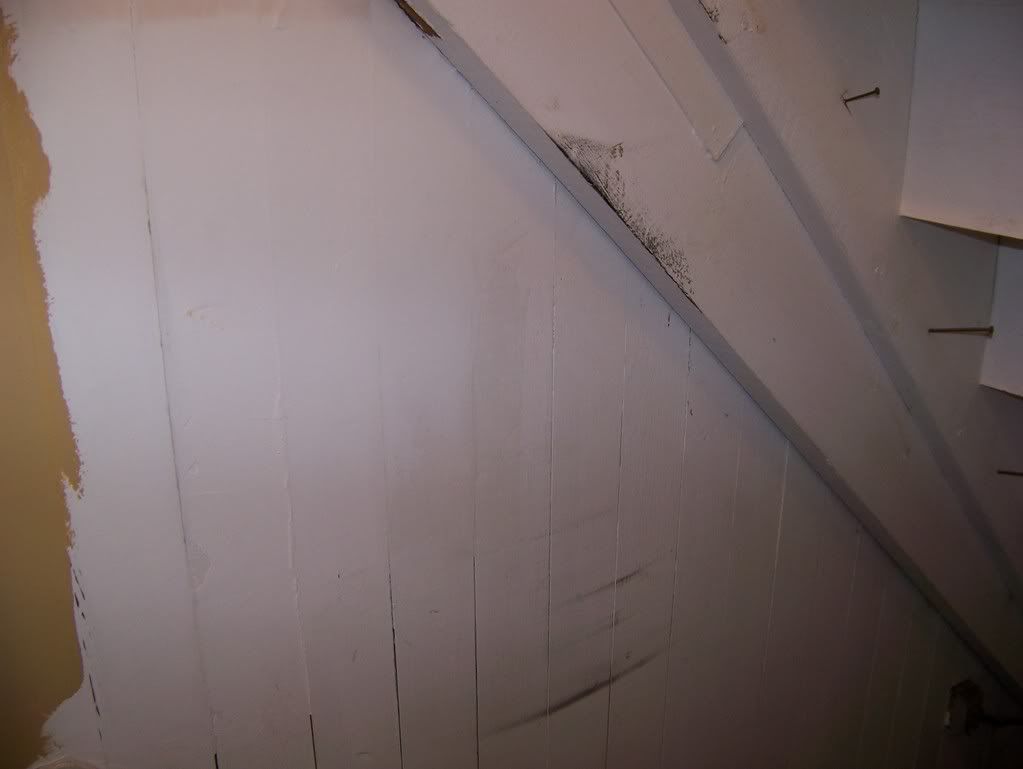
That mesh can be expensive, would try to score some in Wheeling. You can see some rolls of it in the Pix's. Is the black stuff.
Try to take me some pix in back of yours to show what that retaining walls are like, how are they anchored. Going to get to be a hot topic for me.
What a job Cosmic, well done so far! I've owned some fixer uppers in the past, but never had to do as much as you are doing to this place all at one shot. I'm going to retire from my cubicle-world techie job in about 3 years and am debating with the idea of building a new place from scratch vs. getting a fixer upper. I've always wanted to build a new place cause it seems like it takes less effort to get it right the first time than to un-do all the screwball things you find in some old places. I'm not talking mansion type new house here, I'm talking about a nice simple design 1000 sq ft 2 bd 1 bath with a separate garage / storage out back. Thanks for sharing these photos.
Yup Recycled, I have been thinking the same way. A lot of it is going to depend on your location. You are right about the less problem for new construction / new design you start off doing what you want.
But in some places they will rape you big on new construction. Boston figure 25K just for paperwork and permits. And you will be pretty restricted in what you can do. No way can you match a large builder costs if you get the right one.
In a place like Monroe County Ohio it will make sense if you can find the right situations. I would like some land with lots of rocks and some standing timber. Can get that cut in a sharing deal, sawn and dried. Beautiful wood in this area, like 57 different woods. So I have been looking for just the right spot. At some point I would like to sell this one.
Had that option way back but could not find anything good for the price to buy. Good quality in this area can be tricky. Plus the market collasped about 30 - 40% so maybe I made the right decision. If I can get this fixed can be a nice home base to do something else. I do not want to live thru another fixer while doing it but I knew about that going in. I would like to also try a new construction with exactly the right situation.
Half the fun I think is renovating a place. My husband and I built a 24 x 24 garage/workshop,it was alot of fun and passed all the inspections. It was funny when the guy dropped off the wood and trusses he asked my husband where's your crew? He replied she's out front mowing the yard...lol. We didn't do the concrete we hired that out,definately did not want to mess that up. But it was just him and I but had his son help lift the trusses up.
I did find a few of the old originals back from the purchase dazes. Again captions under the photos.
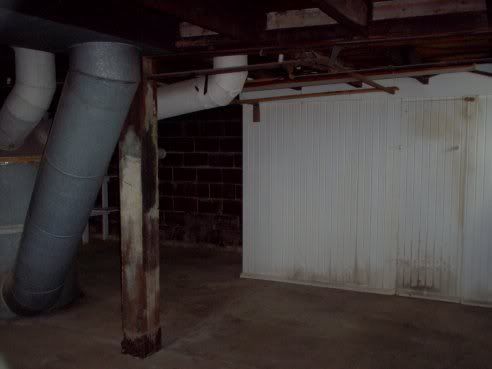
The old clunker furnace in the basement. Natural circulation, used huge amounts of natural gas. The white thing is a built in like root cellar, is totally insulated inside, very cool in summer. My dog goes down to the dog cooler and spends the entire day sleeping. I saved all that ductwork for maybe trying to work in into building some solar collectors.
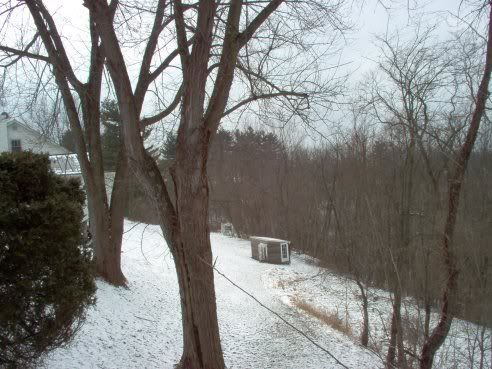
The shed I tore down and recycled into a new one. Horrible location, not bad for maybe going turkey or deer hunting by totally worthless in that location for anything else. All the land down to the woods is mine.
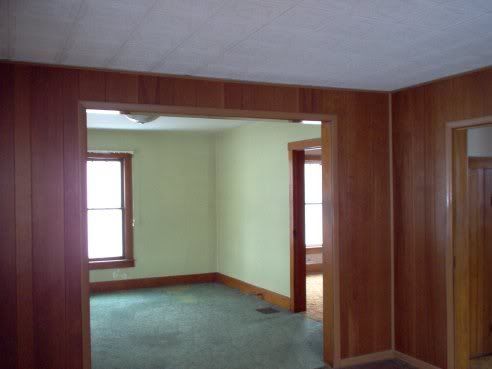
Looking thru the living room, you can see how big it actually is. Two sections, nice woodwork. The plaster was total crap in that room that is showing as green. Entire wall with the back window had to be replaced. Lot of hours replastering. Used lots of mesh. Still has old windows.
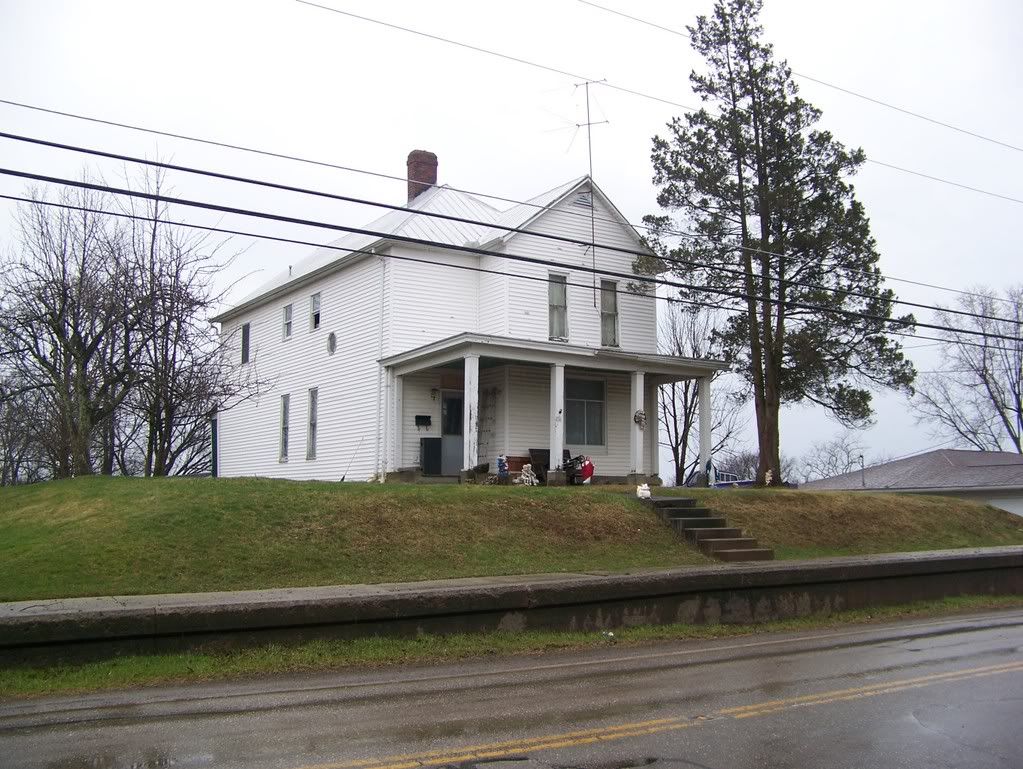
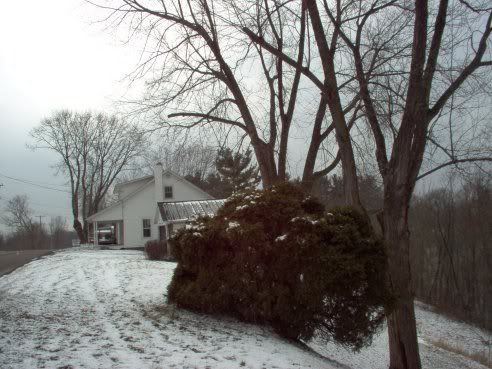
The house (BSA) before shed added. All that land is mine, got even more. Finding that much land with long frontage where you still have town services but are outside their control is always a very desired prime location. Perfect for many types of businesses. Can see the two old crappy garages that will have to be torn down at some point. Lot of fill work.
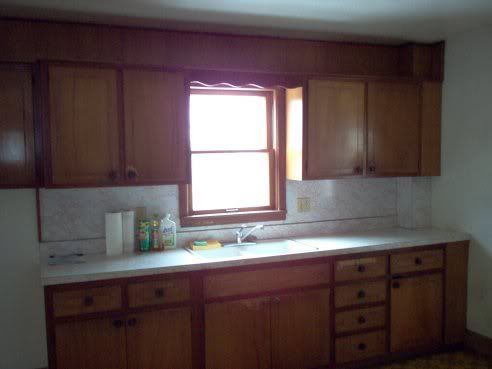
The original kitchen, looks lot better in that photo than it was. Ceiling was a disaster of patches. They tried to pretty the kitchen up for the sale. Last thing a fellow wants. Give it to me at rock bottom, can even be dirty. My new counter will be the same length, ten feet. Will reuse all the cabinets, bases, etc, stripped and restained, finished.
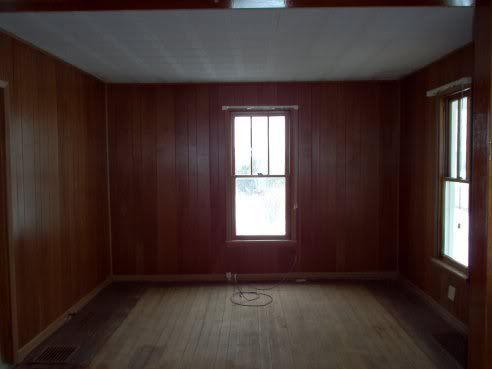
The right half of the living room which has dark paneling and that crappy tile ceiling stuff. The ceiling is damaged from leaks in the old bath and a roof leak. Probably will gut out that half at some point, no hurry now.
Wowza! Gorgeous work, Cosmic! It's come a very, VERY long way!
I was talking the plaster idea over with the guy who's working on the house w/me, and he wanted me to ask if you applied the plaster just like you would spackle...and how you attach the mesh. Could you give me a quick rundown on how you did it?
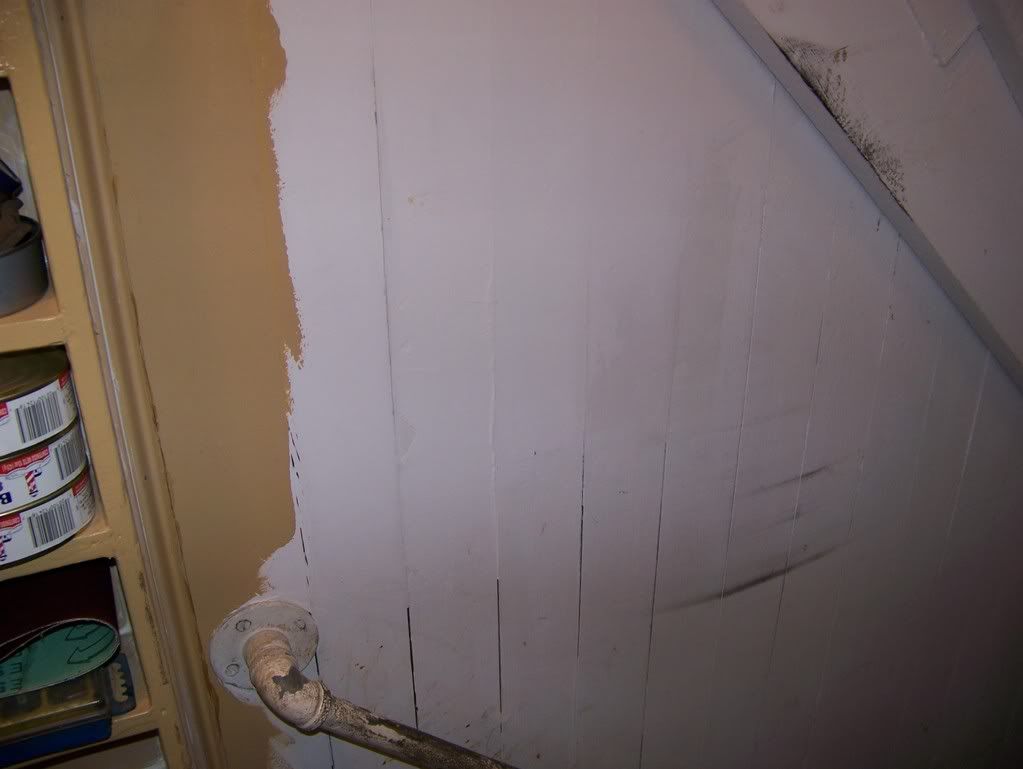
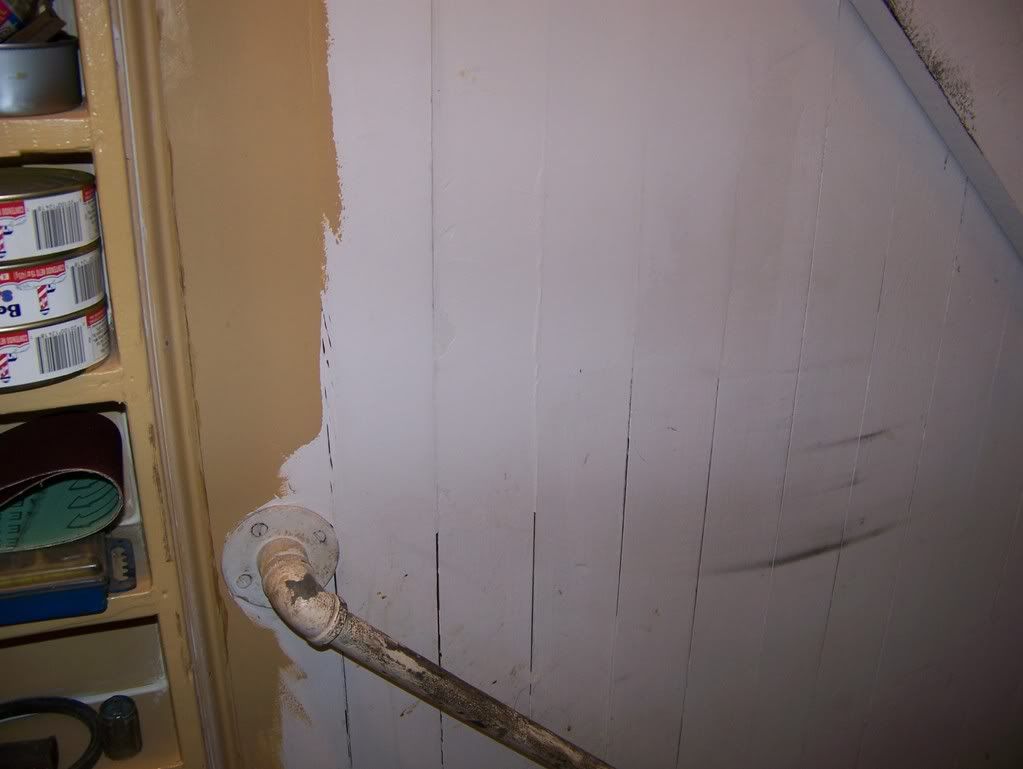
If you go back to Page 2 of this thread and look at those Pix's of the chow storage inside the landing going to the basement, you will see the walls behind the cans are nice and smooth and a yellow color. Those walls got the treatment I describe below.
Those walls are the same crappy rough painted tongue / groove that you see further down in the Pix where it was taken looking up that stairs from the bottom. In that pix you see a bunch of saltines on the shelves up high when looking face on. If you then look further down in the pix, you see wooden walls that were not treated. They are still rough, painted with cracks between the board, big pits, etc.
If you look at the back of that door going to the basement in some of those pixs you also see something like the original condition I had to start with. Again painted white, lots of cracks, bumps, pits, etc.
So to get started I used plaster of paris, it will set up quick but is much harder when it sets. Troweled it on and pull it out hard over the entire area to just screed it like and fill all those crack, dents, pits, etc. I just wanted to get a fill, not an real buildup on the surface. I tried to make it smooth. That plaster will only give about 3 - 5 minutes working time, you have to know how to retard the setting times if you want longer.
So I got the first part done. The area I want to treat is filled and already set. I can just keep going to the next step. Talking like a 10 - 15 minute evolution with mixing time, slap it on, pull it out hard with lil build up overall.
Joint compound or spackle, etc is too soft and takes to long to cure up if you get it on in any depth. Plaster can fill inch depths no problem, good to go in a few minutes.
Next I take the standard joint compound and apply a very thin coat, 1/16" or so over the entire area in a smooth coat. Bed the mesh in it, similar to wall papering. The strips of mesh just butt up tight against each other like wall paper, no over lap on the seam. Then take the large mud knife and work the mesh to cause the mud to get even with the mesh surface. Remember thick coats of mud do not dry up well. I try to get it smooth but am not fussy. Add more mud as necessary to get a good even thin coat just covering the mesh surface, should look white and you don't see by streaks of the mesh.
The mesh bridges well over all sorts of defects and lets you get a nice smooth surface. The next day I give it a second coat. I usually just knock anything sticking up down by pulling the mud knife over it before applying the second coat. Can hit it litely with a sanding screen if required. The idea is to let the mesh do the work. You do not want a lot of plaster or mud thickness. Usually two coats does the trick, once nice and dry, I give it a lite sanding with a drywall screen. Second coat is again ~1/16". Just getting a good cover. Then a fairly good sanding with a drywall screen to get it all nice an smooth, just like you would for drywall.
Ready for paint.
Without the mesh it will crack over grooves or defect areas as temperature changes. If this is not clear I do have areas in that stairwell that I went beyond the area that the storage shelves are. You can see the effects of how I did the first and second coats and some idea of how the fill occurred.
Maybe at some point I will do that entire area all the way done into the basement. If it is still not clear I could try to take some more pix down in there. You can't quite see it in the pix looking in from the kitchen.
You just about need enough mesh to sort of wall paper the area of interest. That entire stairwell going up stairs took like two rolls of the stuff a foot wide. The mesh is what makes it all work.
That makes complete sense to me now. Thanks for the step by step, it actually sounds like something I could do without to much headache involved, and I see by the pics that it came out great on your project. Fantastic!
See if I can explain it better ..... Burned some more Pix's
I burned a few more Pix's so you can see it better, plus some ideas how to use that mesh a lot of places.
Here is that area where I pulled the fill coats out beyond where the shelves were to go. First I did a fill of all the cracks and biggies with plaster. Then a first coat of mud. Only here no mesh got applied. Way out to the right is just plaster.
Another shot
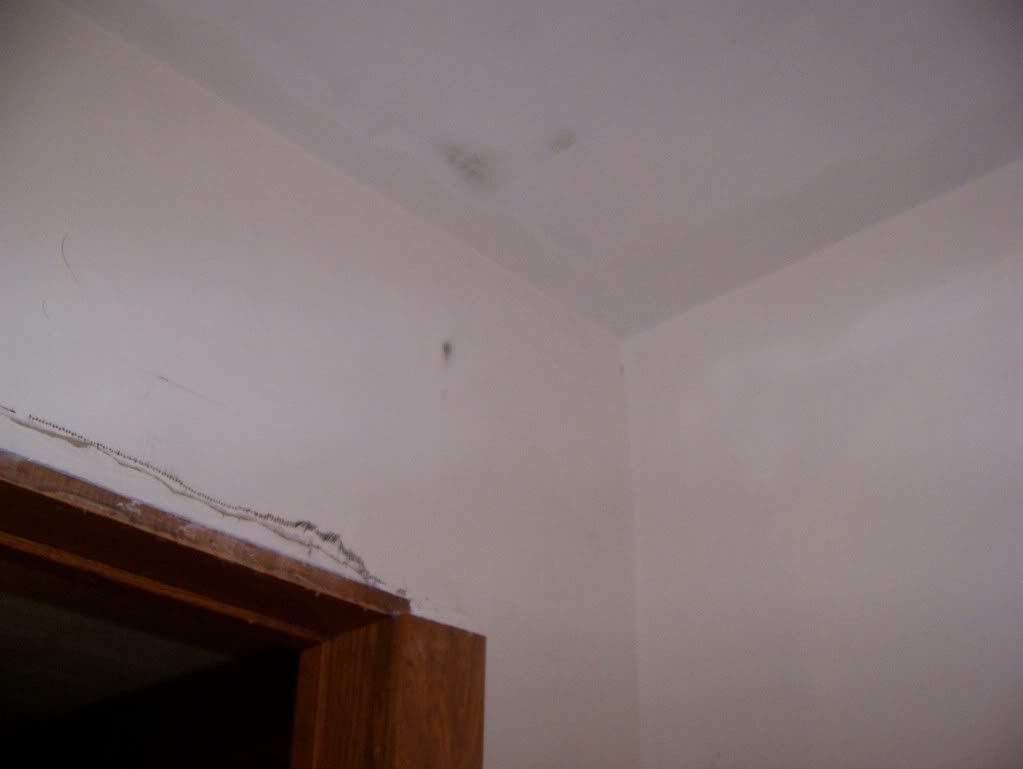
That mesh is very useful in many problem areas. In this corner nothing matched up. It was drywall but horrible wavy, crooked, offset, etc. Happens in old houses. The walls are just so out of wack in this area. You can not correct it using joint compound. I plastered this area and used a lot of mesh to strengthen it. That entire corner area was messed up. Got it fairly straight.
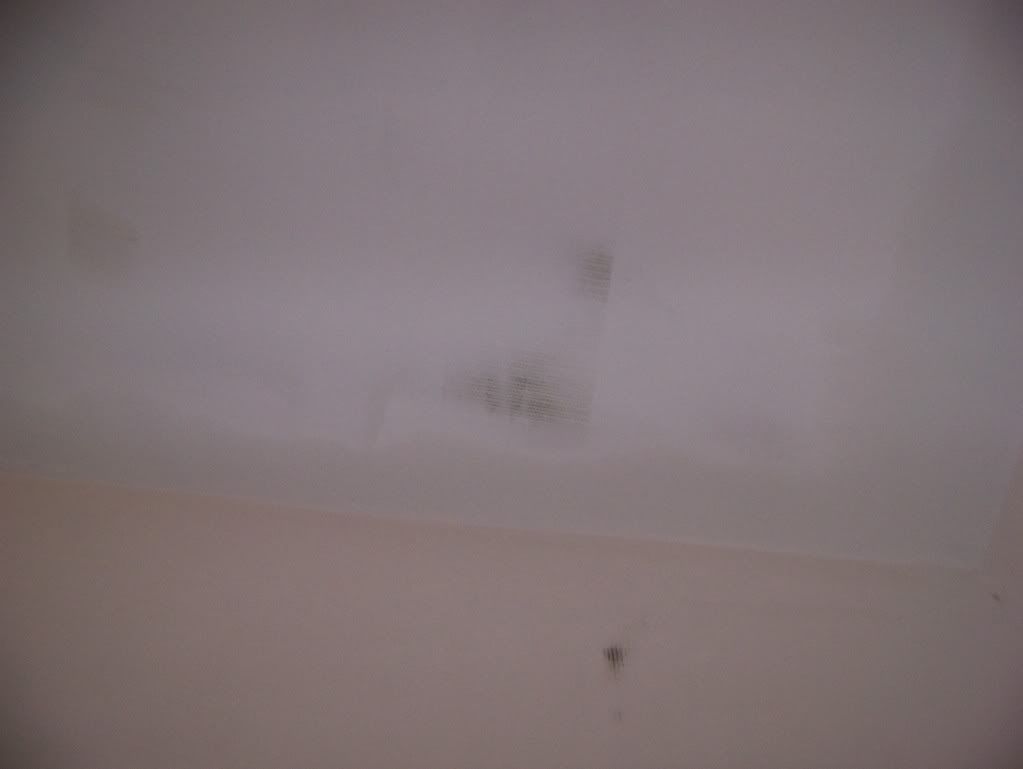
I also used the mesh all over the ceiling and did a skim cover. Drywall ceilings in old houses can be problematic. They never look quite right. It is best to use blueboard, but I didn't have that option.
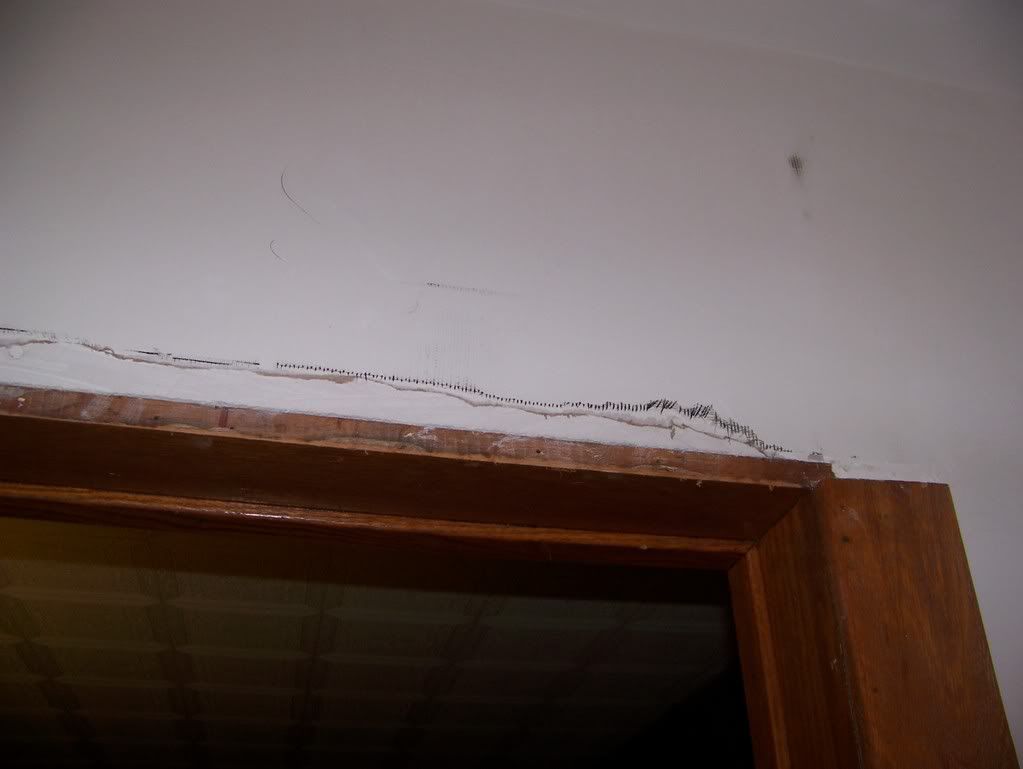
Nothing matched up. The area over the door is badly bowed. Shaving the drywall in places and filling in others .The mesh is super here. You can see traces of it when sanded out.
That is better than it looks, everything is tapered as you see the sanding thru to expose mesh. The mess is light bouncing around by the flash of the camera.
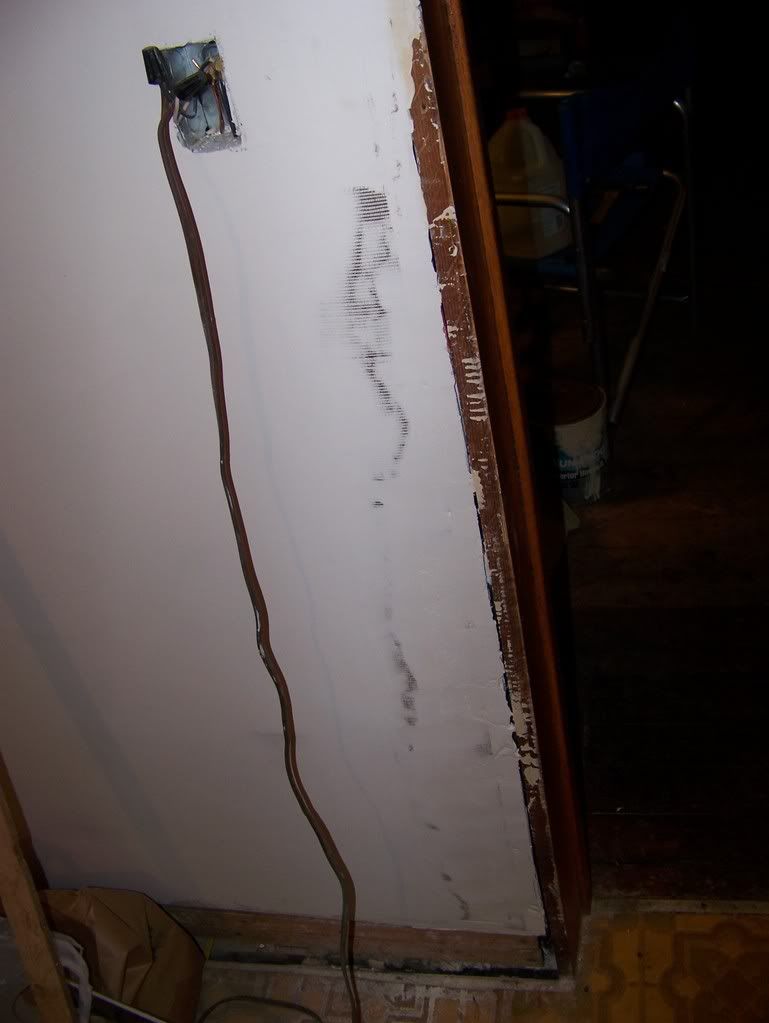
This wall was also badly messed up, bowed in the vertical, drywall had to be shaved a lot, then a mesh and mud coat, you can see the mesh. It is all smooth and after painting you can not see the mesh.
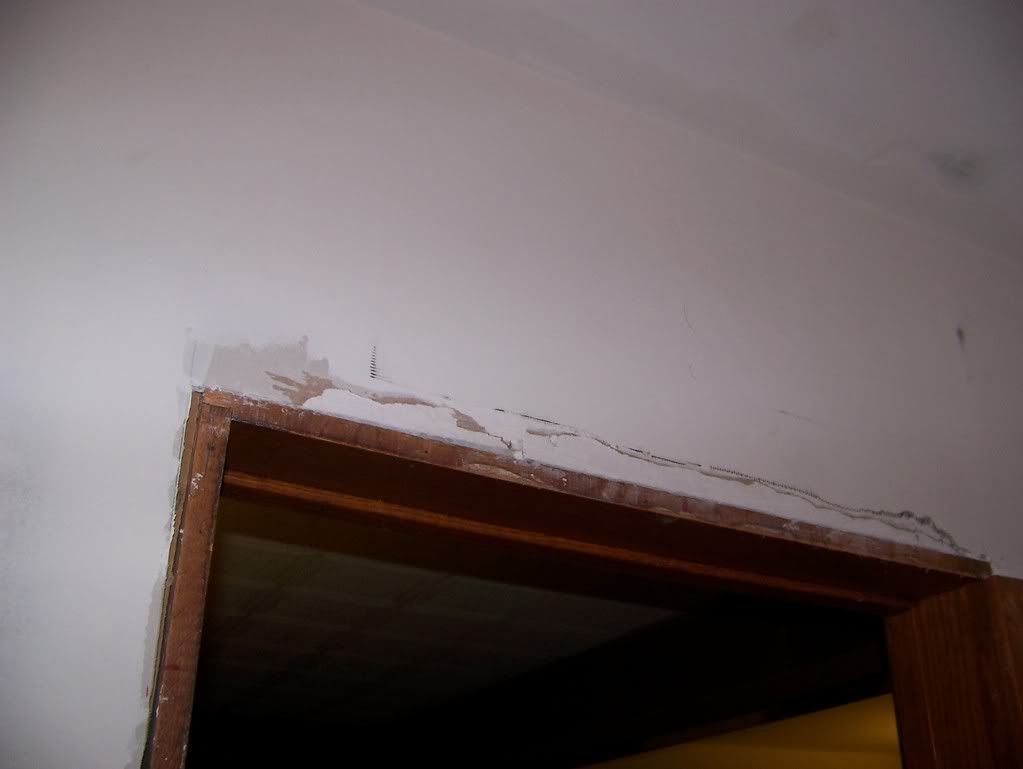
This entire door frame is warped cocked way out of true in every direction. The houses in SE Ohio can be a real experience. Clowns that were never qualified to do anything using inferior materials in a shoddy manner. My house is very well built compared to some I've seen. Some of it leaves you shaking the head.
Please register to post and access all features of our very popular forum. It is free and quick. Over $68,000 in prizes has already been given out to active posters on our forum. Additional giveaways are planned.
Detailed information about all U.S. cities, counties, and zip codes on our site: City-data.com.

 Please register to participate in our discussions with 2 million other members - it's free and quick! Some forums can only be seen by registered members. After you create your account, you'll be able to customize options and access all our 15,000 new posts/day with fewer ads.


 Hinges are mods out of my junk box. Joke was the local kept watching it being built but they didn't know what it was. One neighbor told them I always wanted a lemonade stand as a kid but my mother said no. So this is my chance to have one. Selling coke out of the other side.